How to Decorate Halloween Cookies
Halloween cookies we made for the teachers at Highland Lakes Elementary School… keep reading for great tips on how to decorate Halloween cookies.
To start, realize decorating Halloween cookies is supposed to be FUN!!! And it will make a huge mess in your kitchen. The kids will love you for it!
Step 1 to Decorating Halloween Cookies: Buy Cookie Cutters
I am using a Wilton set from Walmart I bought on clearance. You can find sets online, at the dollar store, fabric stores, just about anywhere close to Halloween. And what is even better is buying them after Halloween on clearance. I do a lot of decorating on plain circles, but I actually love the shapes, especially when decorating sugar cookies with kids.
Step 2 to Decorating Halloween Cookies – Buy or Make Sugar Cookie Dough
If you are pressed for time, just buy a roll of ready made sugar cookie dough at the grocery store. If you have just a little bit of time to decorate cookies buy the sugar cookie mixes at the grocery store. If you want to spend the least amount of money and want the best flavor cookie dough make it yourself. Whatever recipe you use, make your life easier by chilling the dough. This is SO SO important. If you skip this step the shapes will turn out all funky and what is supposed to be a pumpkin will just be a big blob!
You can find my favorite sugar cookie recipe here.
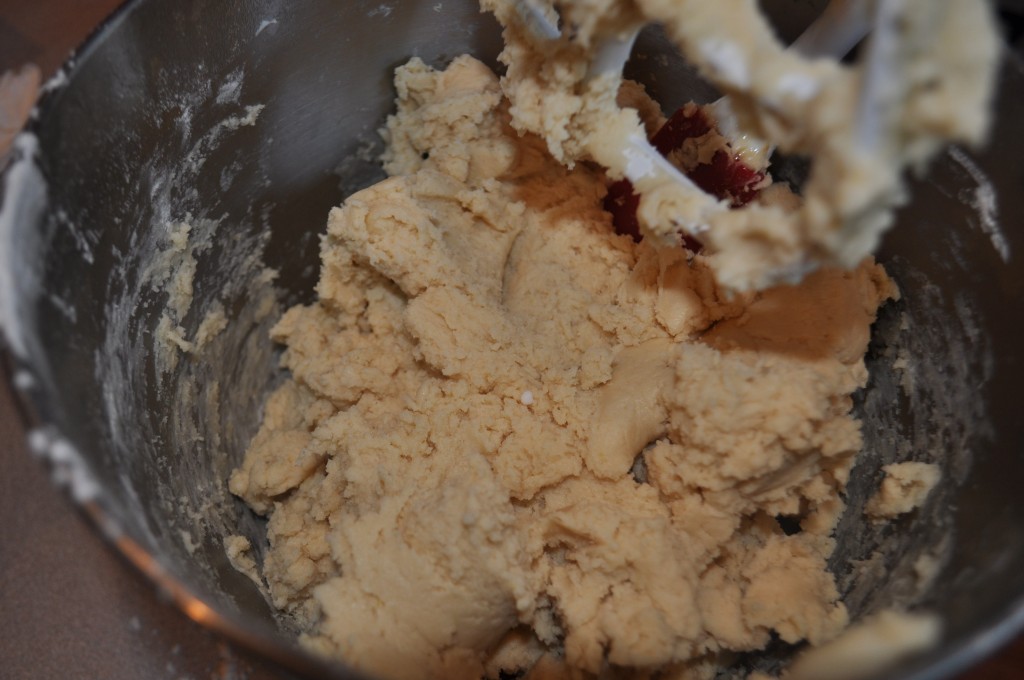
Making cookie dough in a Kitchenaid mixer.
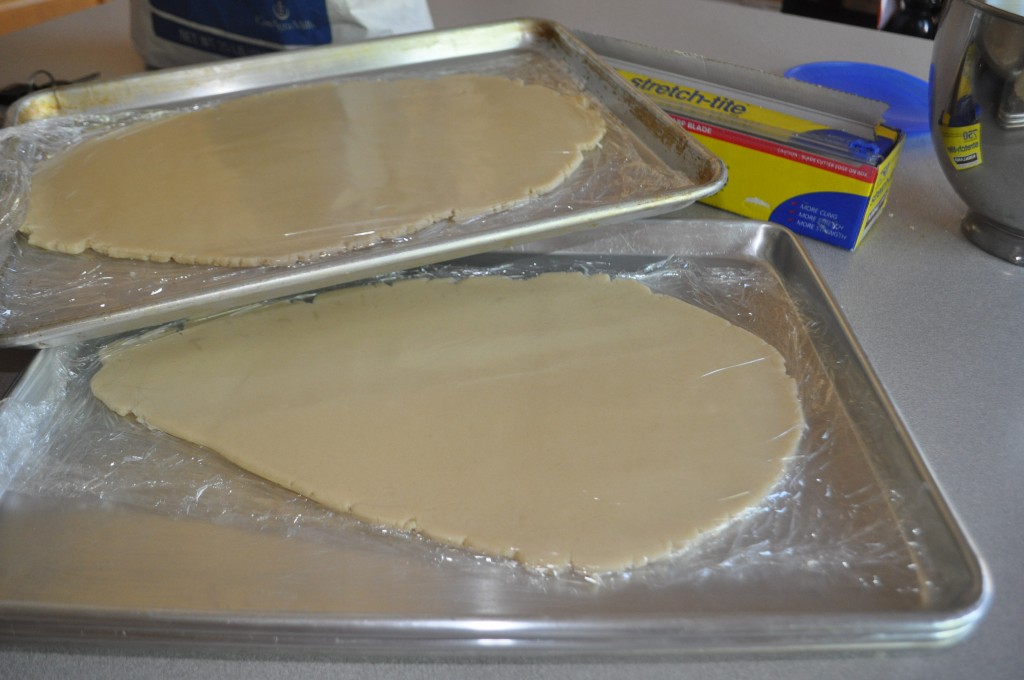
To make life easier, roll the dough between two sheets of saran wrap and chill for at least 2 hours. I actually chill layers of dough on cookie sheets. Chilled cookie sheets helps makes the cookies retain their shapes. These sheets of cookie dough are ready to go into the refrigerator. Please please chill the cookie dough. Do this the night before you want to decorate Halloween sugar cookies, or at least a couple of hours.
Step 3 to Decorating Halloween Cookies – Cut out and Bake Cookies
Once the dough is chilled, it will be stiff and the dough will maintain its shape when cutting out shapes. Use the cookie cutters to cut out shaped Halloween cookies. Place them on a cookie sheet with plenty of space in-between. You do not want them running into each other when you bake them. I like to cook them until there is the slightest bit of golden brown on the edges. Cool Halloween cookies on a cooling rack. Make enough for each child to decorate 4-5; enough to fill a paper plate.
Step 4 to Decorating Halloween Cookies – Icing, sprinkles and more!
Decide how simple or how complicated you want your cookies to be. The easiest thing to do is to buy a bottle of frosting from the grocery store and some cute Halloween sprinkles. The kids will love this, and it doesn’t require a lot of effort. Buy some food coloring to make the icing orange and green for pumpkins. If you like rich buttercream icing try my favorite buttercream icing recipe. Kids love decorating cookies, even with the simplest embelishments.
If you want to spend more time decorating prepare royal icing. You can find my favorite recipe here. With royal icing you can do so many colors and get so many different effects. I usually make a stiff icing, place it in piping bags using a #2 Wilton tip. I then fill in with a thin royal icing that is in a squeeze bottle.
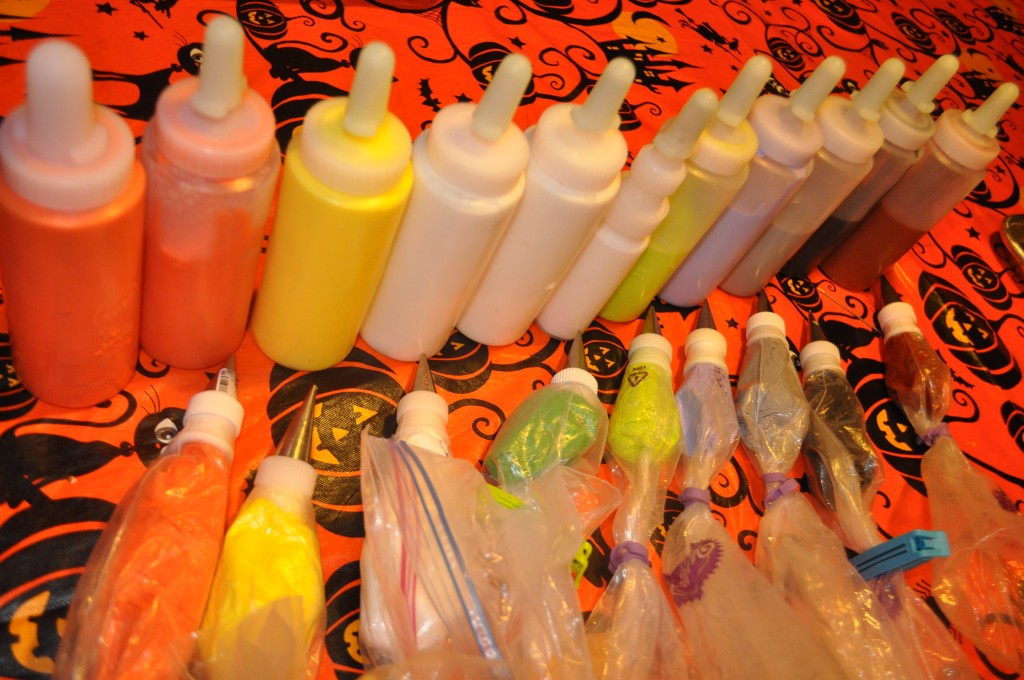
Here are all the colors we made for the Halloween cookies shown above. My kids love decorating with lot of colors. We stayed up past midnight decorating our cookies before Halloween. I wouldn’t recommend making this many colors the first time around.
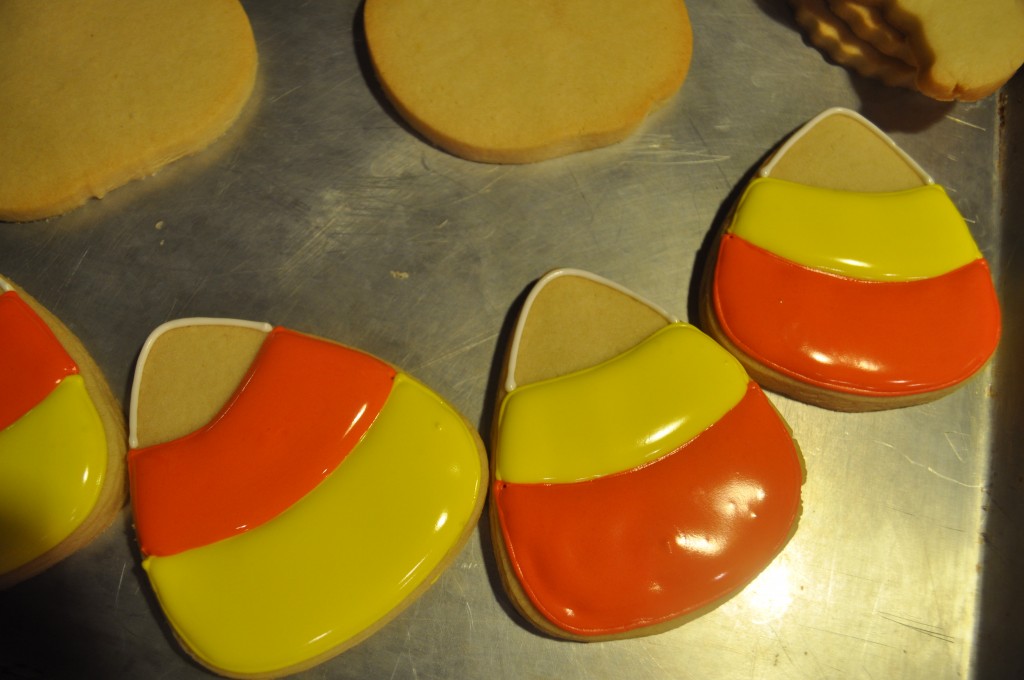
Here is an example of how you decorate a cookie with royal icing. Outline each area with the thick icing, then flood, or fill-in with the thinner icing. If you are doing multiple colors as shown above let each layer dry before adding the next layer.
When the icing has just about set, add eyeballs (can be purchased at craft stores) and a small mouth. Eyeballs make the simplest cookies look super cute. Check out my 5 cats and a bat post. You can make eyeballs using thick royal icing. A dot of white with a dot of black for the pupil. Place on parchment paper and allow to dry overnight.
So there you have it… how to make Halloween cookies in four simple steps.
WARNING: your kitchen will get messy. Your sink will be full of dirty dishes, but I guarantee this project will make happy childhood memories.
Happy Halloween!!!




I like your blog very much and enjoy your decorating skills. I would like to let you know that I have run across this exact photo on a cake decorators website on Facebook. She is using your photo and another cookies decorator’s photo as her own. I knew I had seen the pictur before and it didn’t take long to locate the person who actually did the work. If you want to take a look, the Facebook page is Ava’s Cakes from Wellton, AZ.
Thank you so much for letting me know! I stayed up until 3am making those cookies 🙂 – I emailed the creator of that page and kindly asked them to take the image down. I hope you find something on this site useful!
Suzanne 🙂
Thank you for letting me know! I asked them to take the picture down but I think they are still using it.
Thanks for looking!
Suz 🙂
This has been very helpful for decorating my Halloween cookies. Thank you for always having such creative ideas
I’m so glad this helped you! Halloween cookies are so fun!!