How to make a Cute Baby Girl Cookie – Great Cookie Favor for a Girl Baby Shower
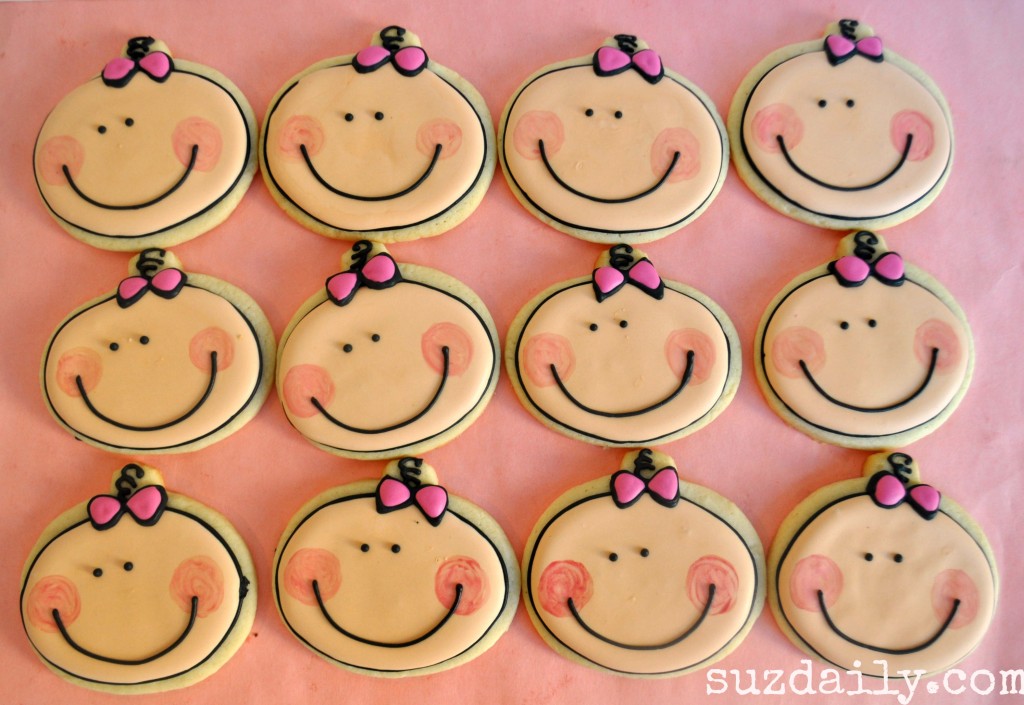
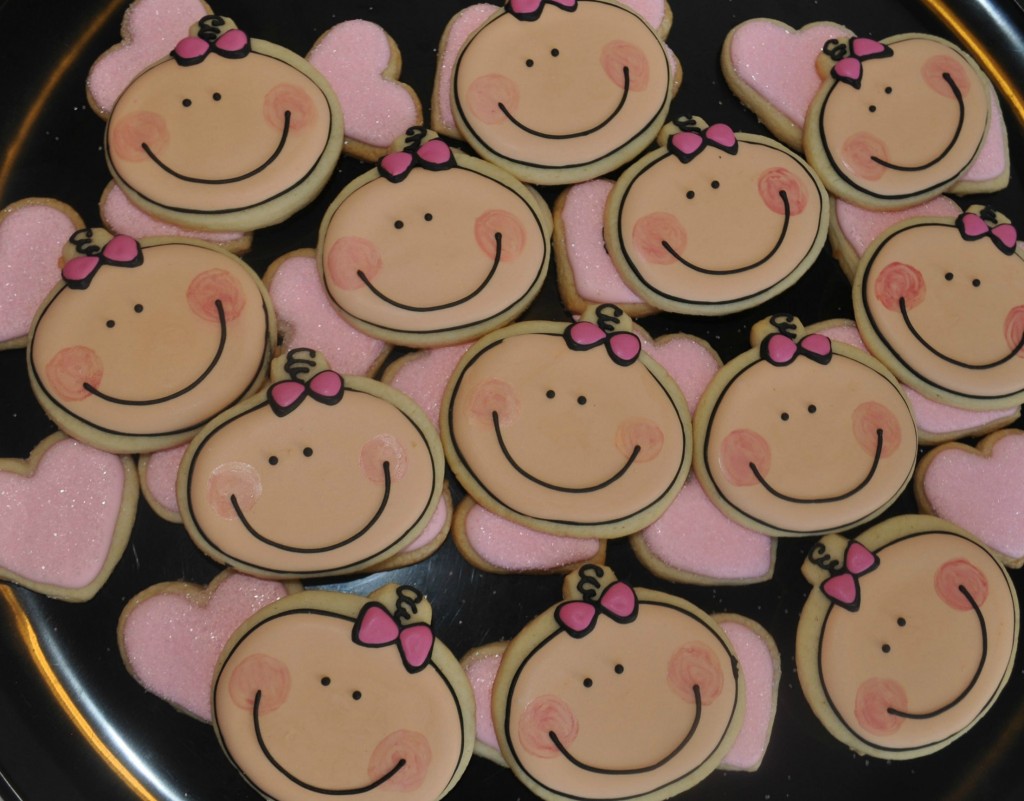
Cute Baby Girl Cookies for a baby shower
I wanted to make sugar cookies for a baby girl themed baby shower and I realized I don’t like to make the same cookie twice. I really was happy with the ones I made last Spring, but wanted to try something different. I was at a loss, then thought of this little scrap-booking image I used 9 years ago for my daughter’s birth announcement. I was happy with how these turned out.
Keep reading for details as to how I made these.
Supplies Needed for the baby girl cookies:
- sugar cookie dough
- royal icing
- Ornament cookie cutter
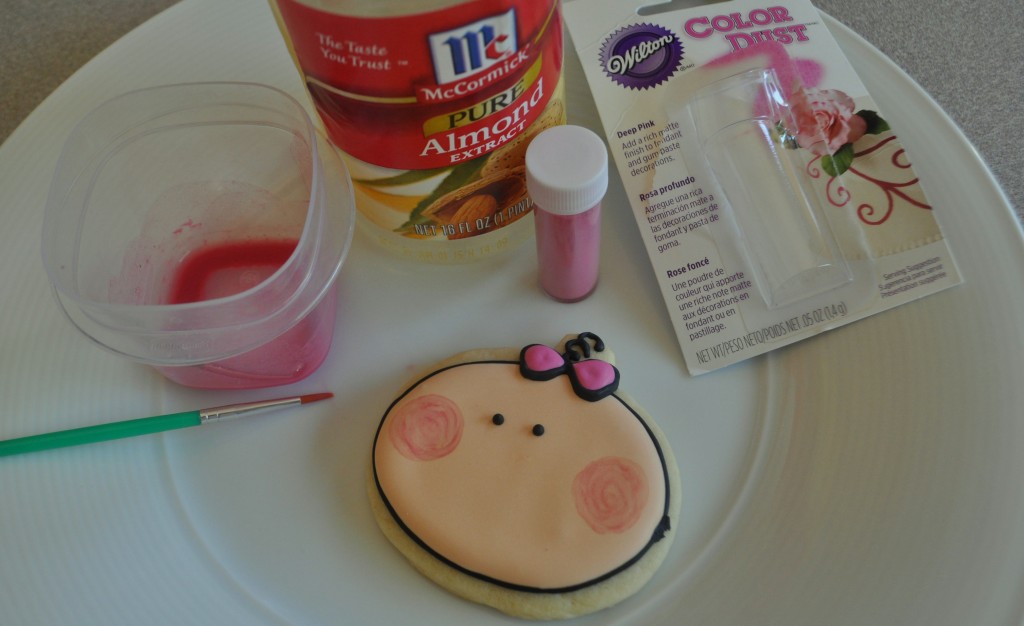
- Americolor black, ivory, brown, and soft pink & Wilton deep pink color dust.
- Pink sanding sugar for hearts.
- For icing; black outline or piping icing, skin color (ivory, brown & pink) thinned flooding icing, dark pink (electric pink and purple) for flooding bows.
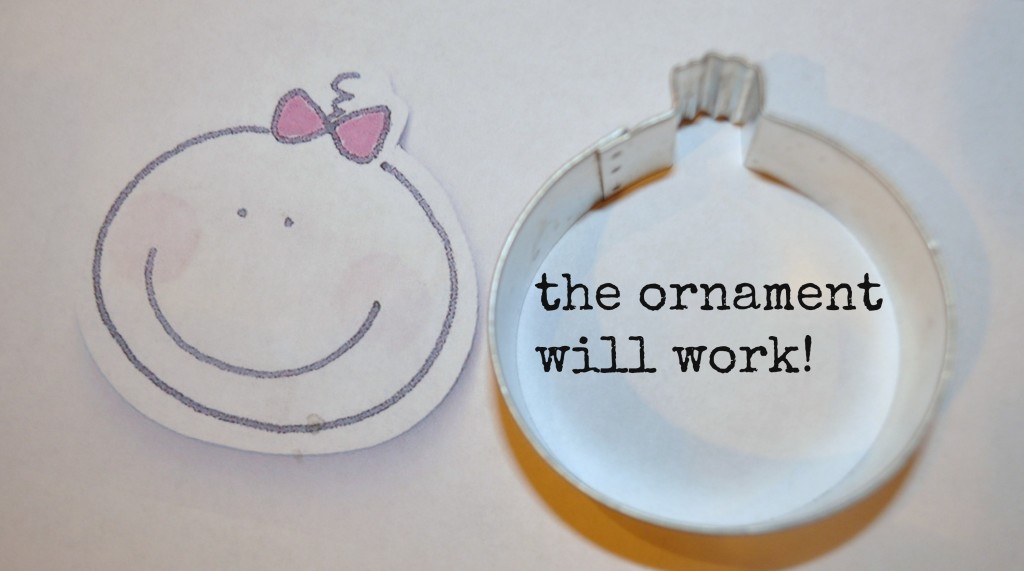
I was happy to realize that my Christmas ornament will work for this project.
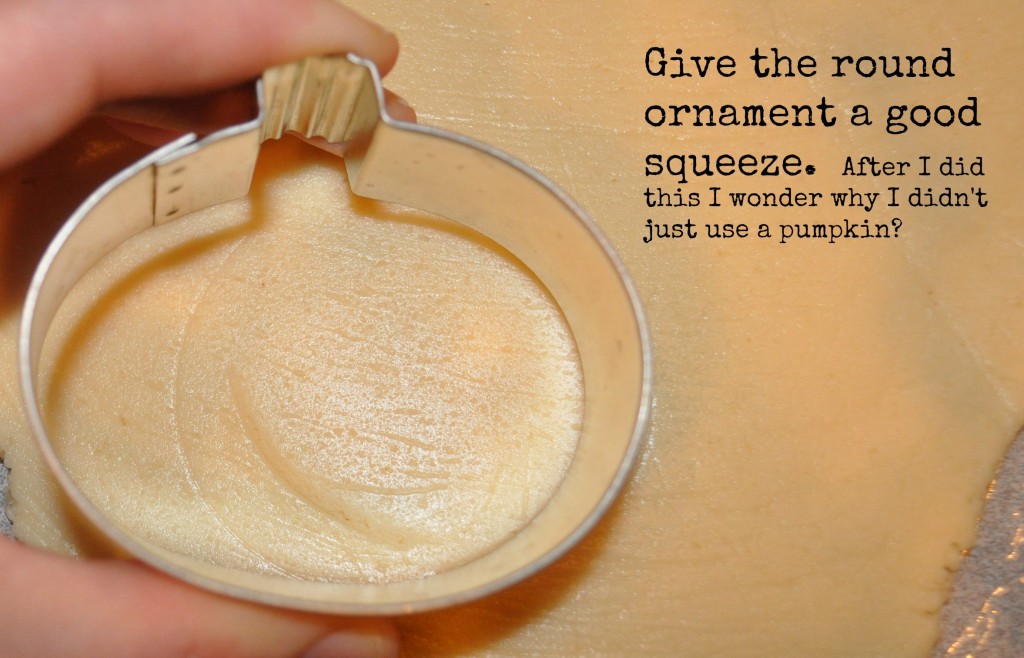
Squeeze the ornament while cutting. Each shape will be slightly different but the end result will be fine.
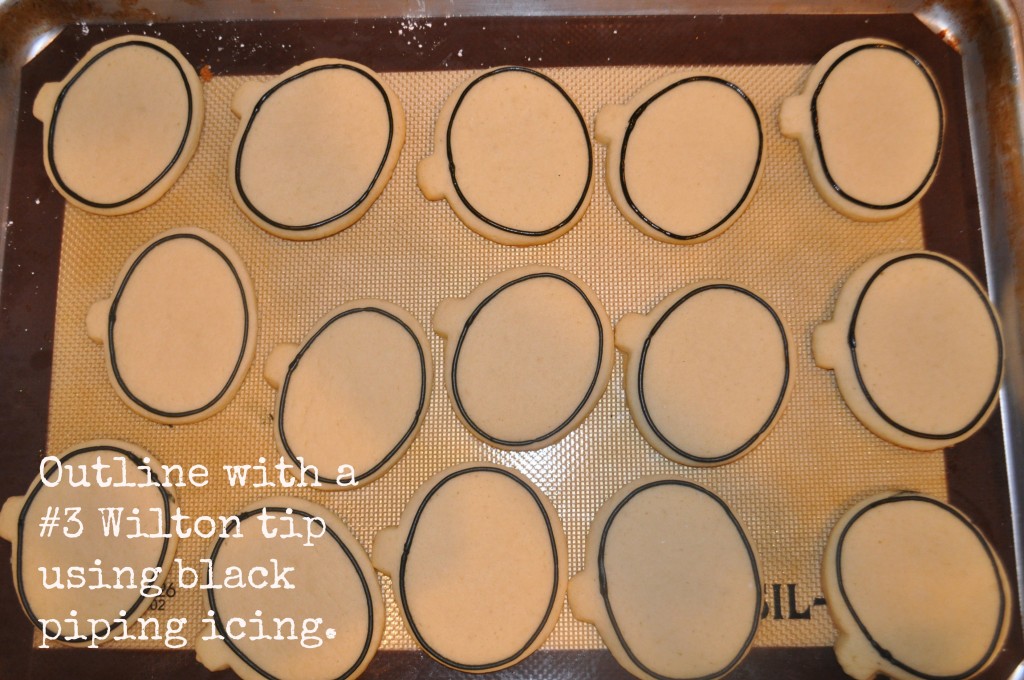
Outline the heads in black using a size 3 tip. I used Wilton. Again, the shapes will not be perfect, but it will work. I only need 12, but I always make extra because of the little mistakes I make throughout the process.
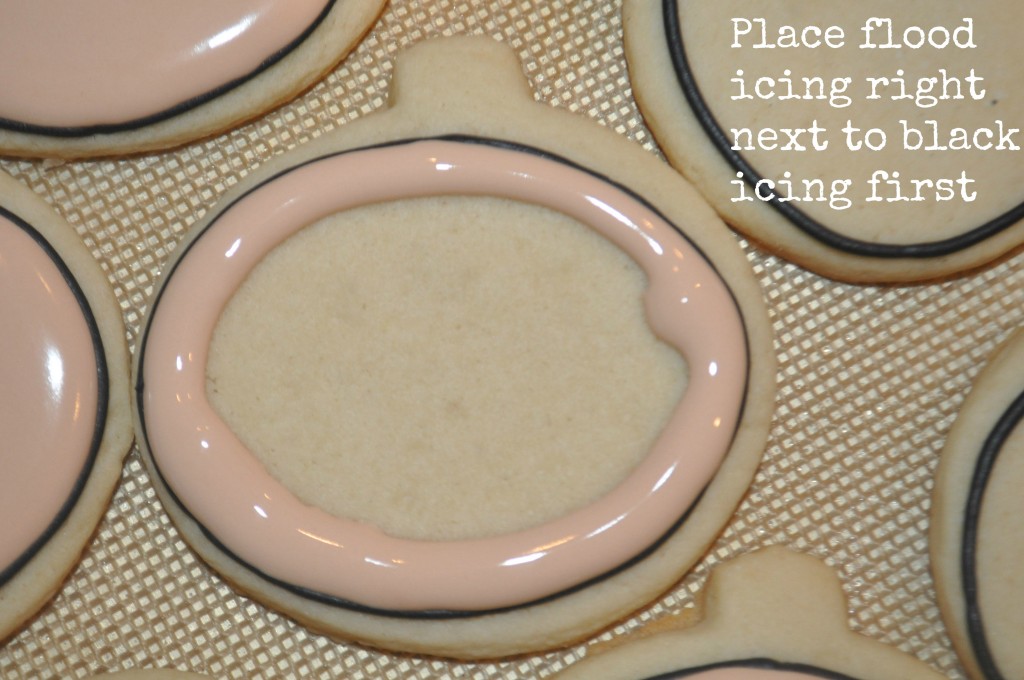
Start by placing the skin toned flood icing close to the black. Be sure it is filled in well so no craters are formed.
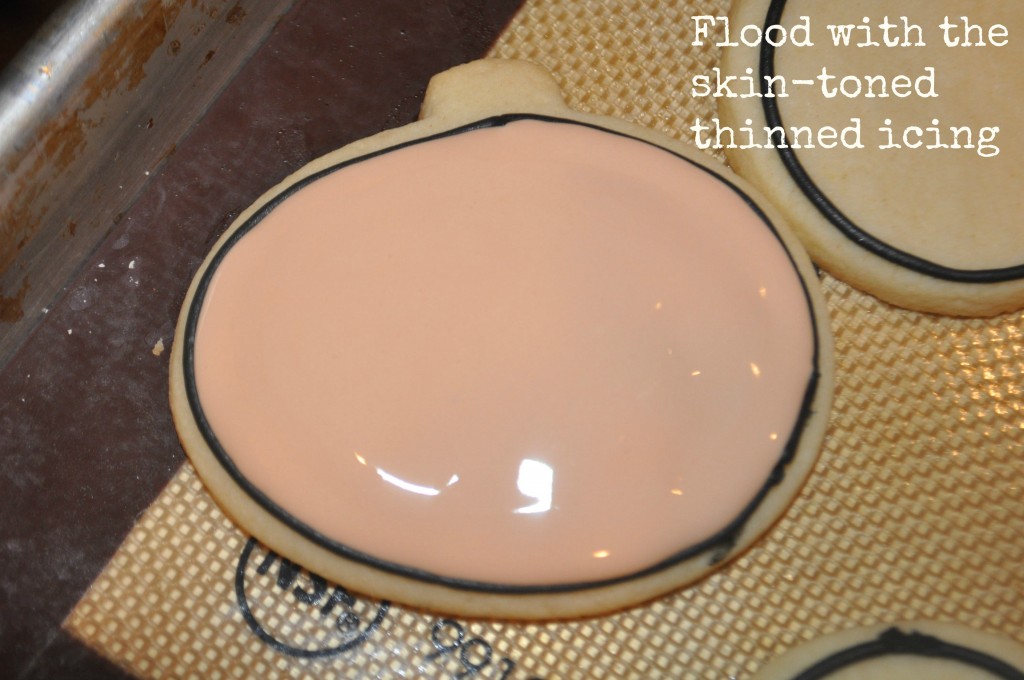
Flood with the skin-toned icing. If a line has formed where you first started filling gently stir with a toothpick.
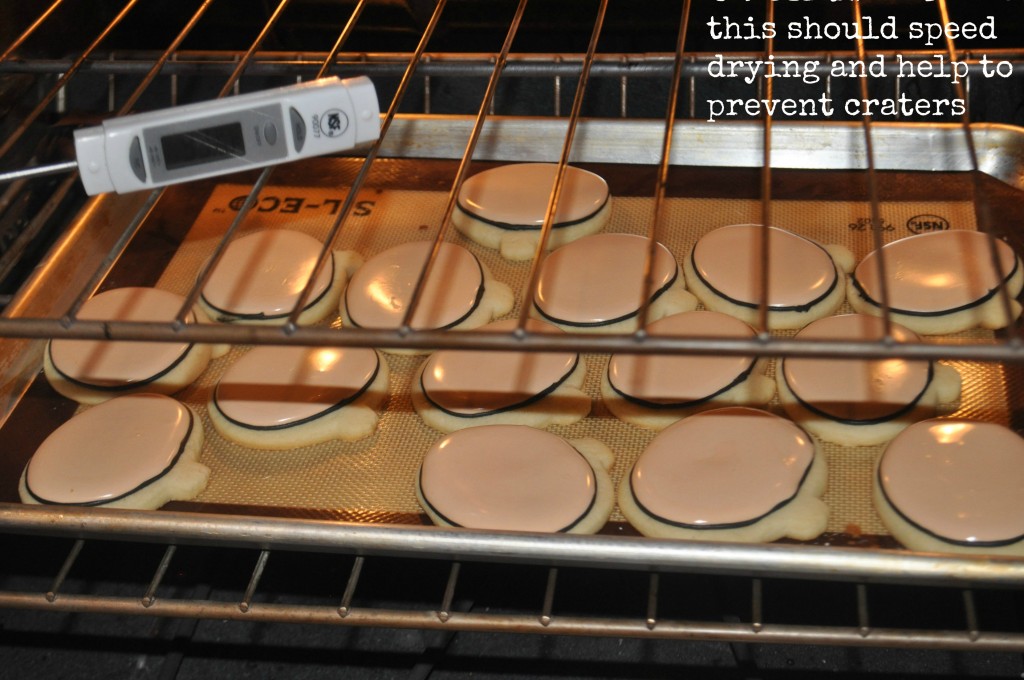
I was in a hurry with these, so I tried placing the cookies in the oven at 95F. A lot of decorators have been using dehydrators on a low setting to help their royal icing set and to reduce the formation of craters. I was happy with the result and was able to move on to the bows about 30 minutes later.
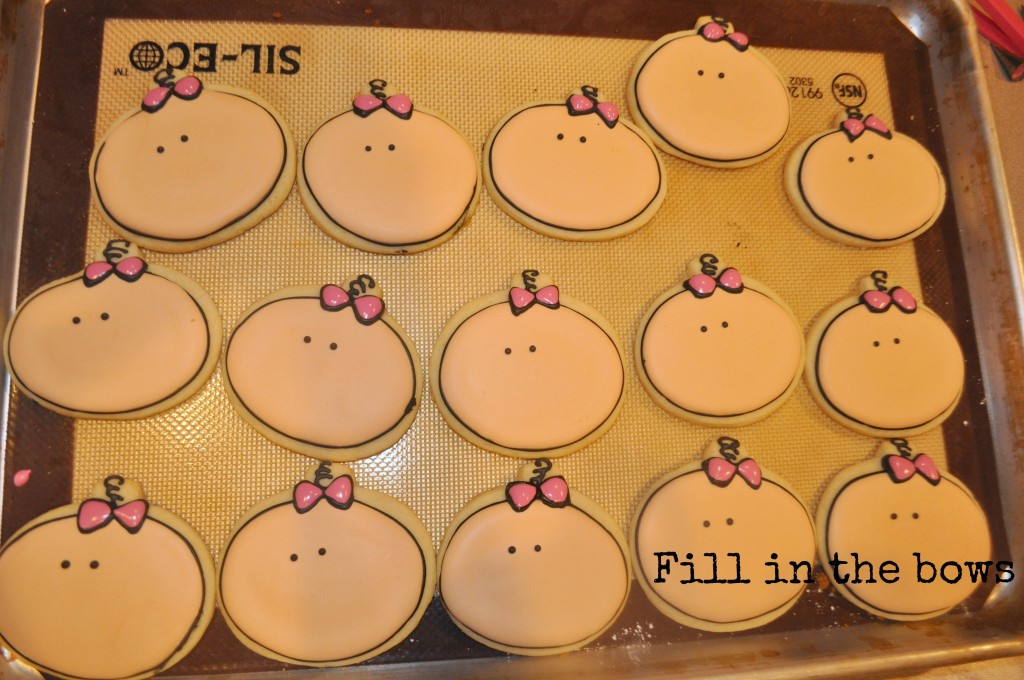
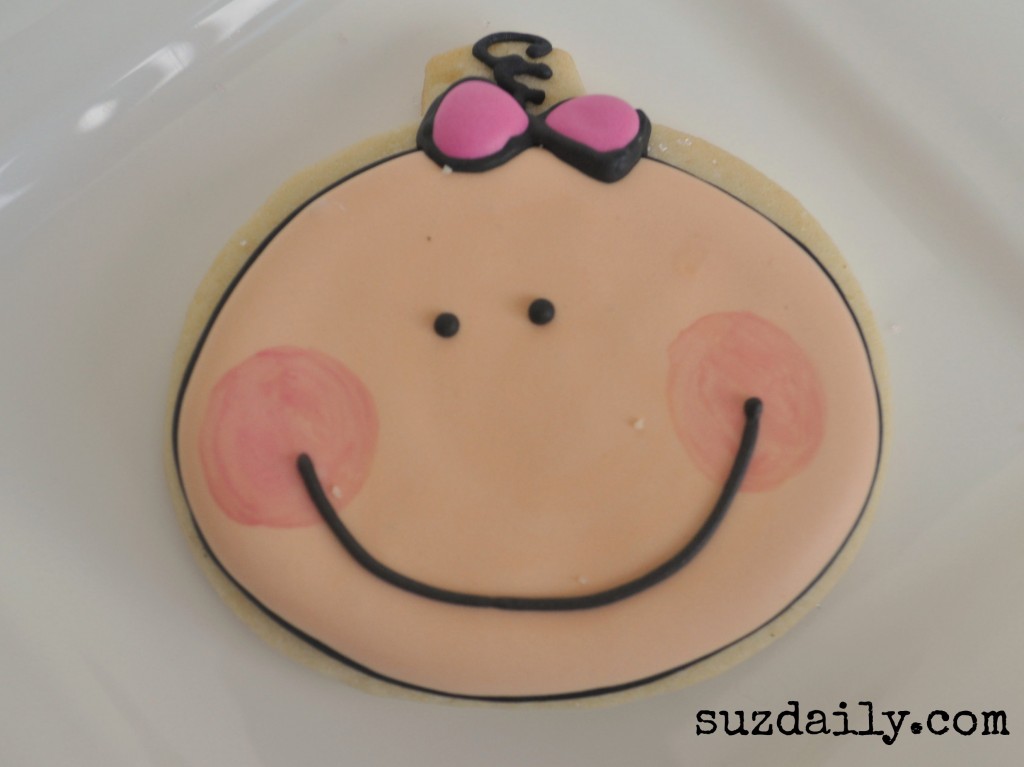
Use the black piping or outline icing to add the eyes. I used the KopyKake to help with placement, but you could use pins the way sweetsugarbelle does. Make a figure “8” shape to make the bow. Because the part on top of the head was lower than the part with the icing I had to add three layers of icing to the top part of the bow to create a well for the dark pink icing. Once the black bow has set go back and add the curly-q shape. I did this by drawing three “c” shapes.
Carefully fill the small wells in with dark pink icing. Do this carefully making sure you don’t create any air bubbles that will later become craters.
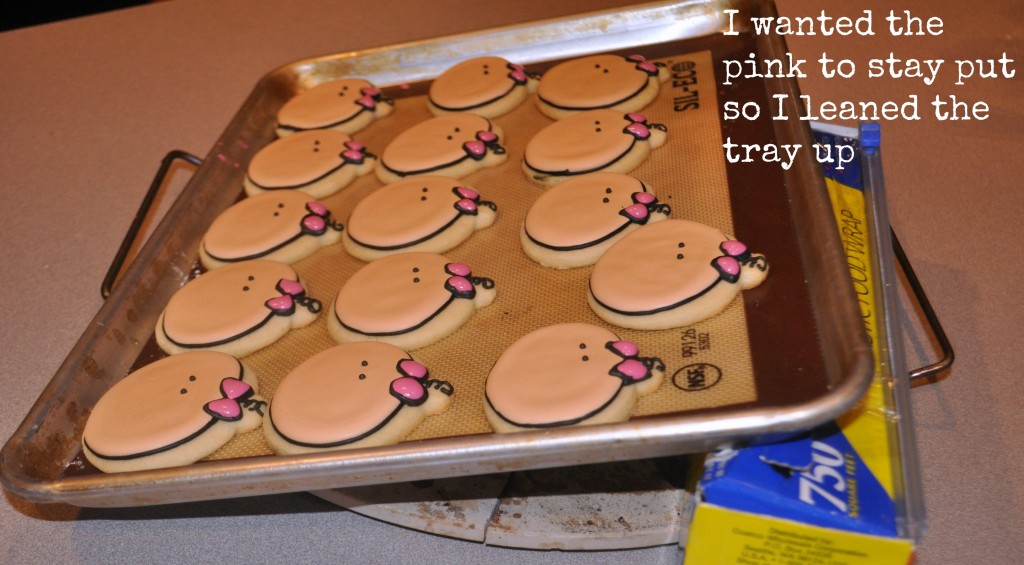
I realized that if I left the bows alone the icing might fall off the cookie. I solved this problem by propping the tray up on what was already on the counter; in this case my pizza stone and saran wrap.
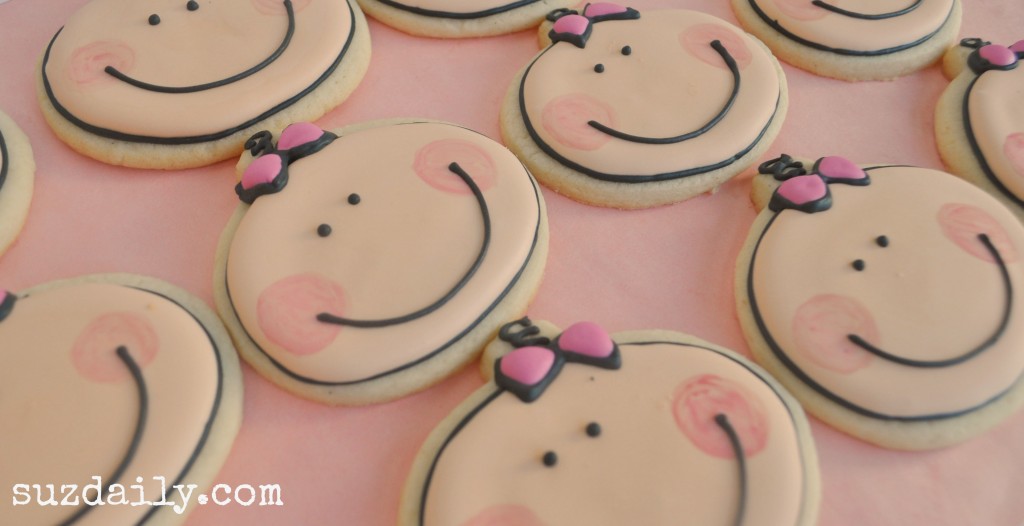
About 8-12 hours later the royal icing will be dry (unless you live in a humid environment). I mixed a little Wilton Color Dust in deep pink with a bit of almond extract to paint the cheeks on the baby faces.
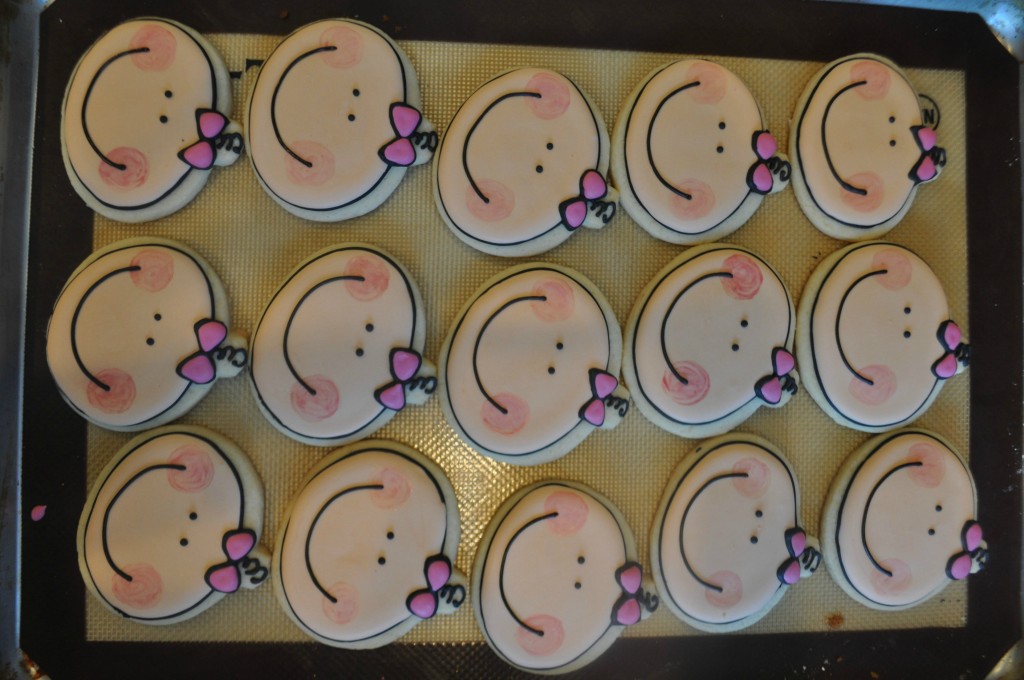
Use black piping or outline icing and a P.M.E. 1.5 tip to connect the cheeks with a wide smile. Done! Allow time for icing to dry completely.
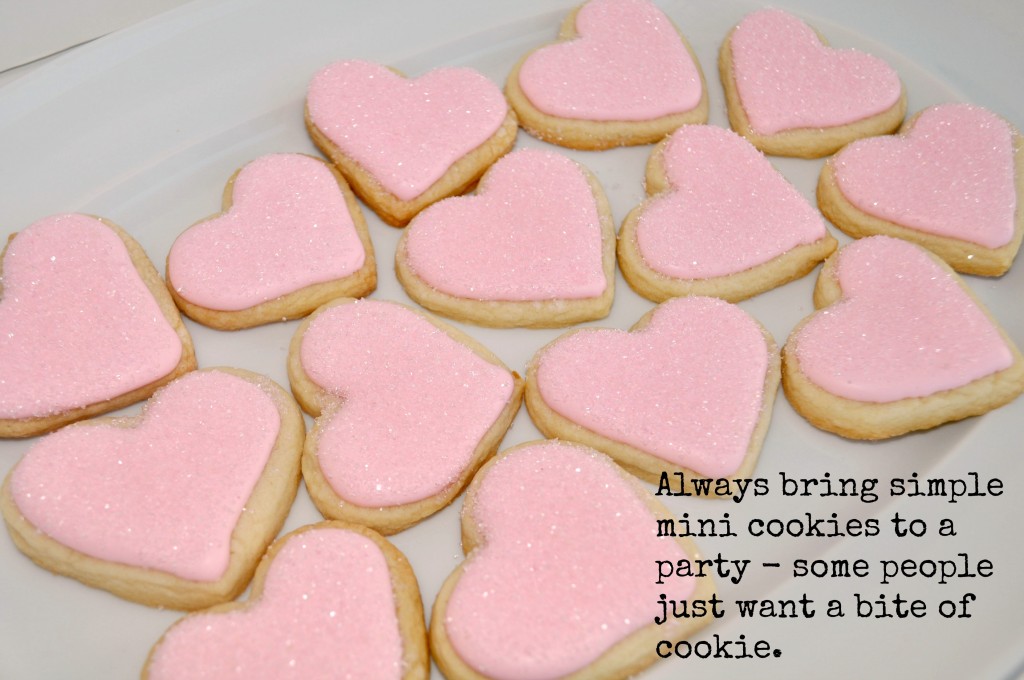
I also made simple little hearts to bring to the baby shower. I have found that some people just want a little bite of a cookie so I always make minis. I simply baked the little hearts, and coated them in a medium consistency 10-count icing. I sprinkled a little bit of sanding sugar on them to give them a nice sparkly look.
These hearts took minutes to decorate, but went a long way at the baby shower. Some people just have a hard time eating a pretty cookie, or are dieting, or just can’t tolerate all the sugar.
I brought the cookies on a disposible tray. I think the baby faces look cute with the little hearts.
Cute little baby girl face cookie. I’m kicking myself now for not making the boy version. I’m thinking maybe just some spiky hair?
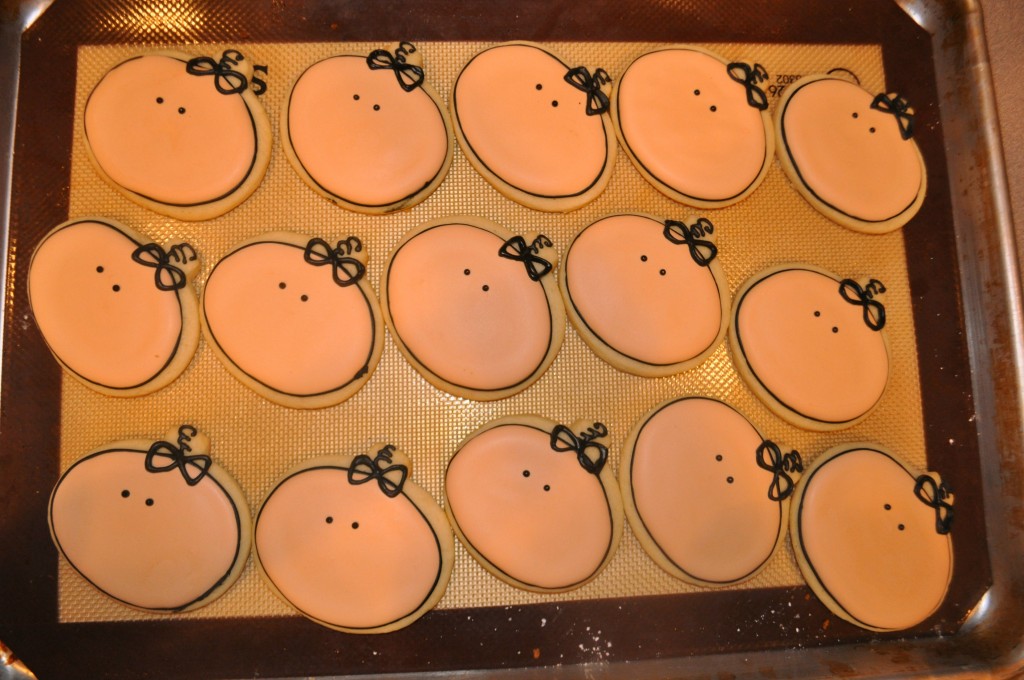


I love, love, love your blog! Thank you for taking the time to share all your talents with the world. I recently came across your blog while looking for cute baby shower cookies. I wanted to not only say THANK YOU but tell you that your step-by-step process made my cookie making experience wonderful. I’ve always loved making fun sugar cookies but this was my first time replicating someone else. I have to admit, I feel a little bad for copying them and getting so many compliments. Don’t worry, I don’t take all the credit by any means and that’s why I wanted to contact you. I want to say Thank You and to let you know that I appreciate what you do, what you did. Your cookies are ADORABLE!! You can see my version here on my blog: http://lucasdanger.blogspot.com/ posted Nov 13, 2013 under the title Baby Shower Cookies. Thanks again! Sincerely, Janelle
Thank you so much for the compliment! It made my day! I have been so busy with a new baby that I haven’t had much time for cooking or blogging. I love the way you packaged the baby girl cookies. They look great. I’m glad these amateur tutorials are helping someone out there.
I should be updating my blog soon!
Best wishes,
Suzanne 🙂
These are just adorable. Thanks for the great idea. I just love them and by the way I don’t like making the same cookie twice either! No challenge in that!happy baking!
Linda – I’m so glad you liked these!! If only there were more time to make cookies! Thanks for looking.
🙂
Suzanne
I am soo excited! My baby girl is having a baby girl..and I’ve been scouring the web to find the perfect cookie. This. Is. It! Thanks for such a cute, sweet cookie…signed, one happy grandma! 🙂
Karen-
I’m so glad these will work for you! This was an old scrapbooking image I used almost 11 years ago for one of my daughter’s birth announcements. I was looking at her scrapbook a couple of years ago and decided it had to be made into a cookie. Such a fun simple design.
Thanks for looking!
Suzanne
These are simply ADORABLE! Great tutorial too:)