How to make a Giraffe Cookie
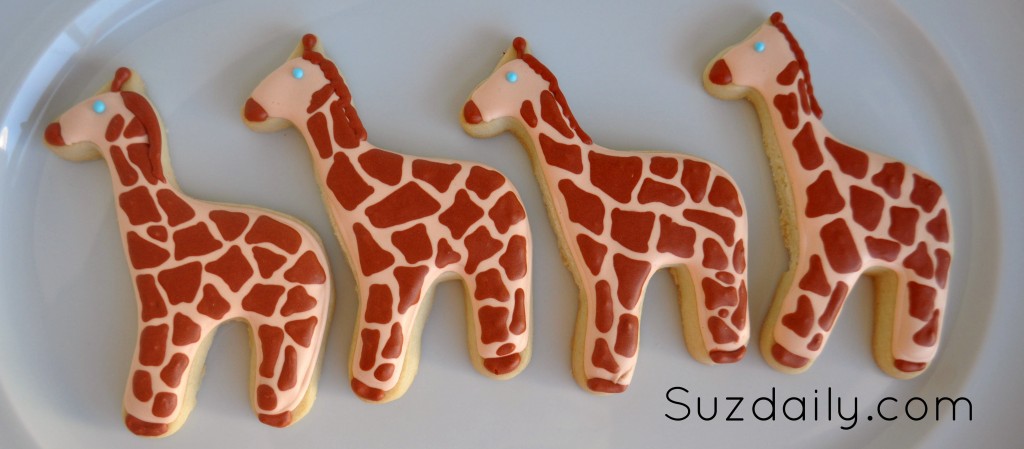
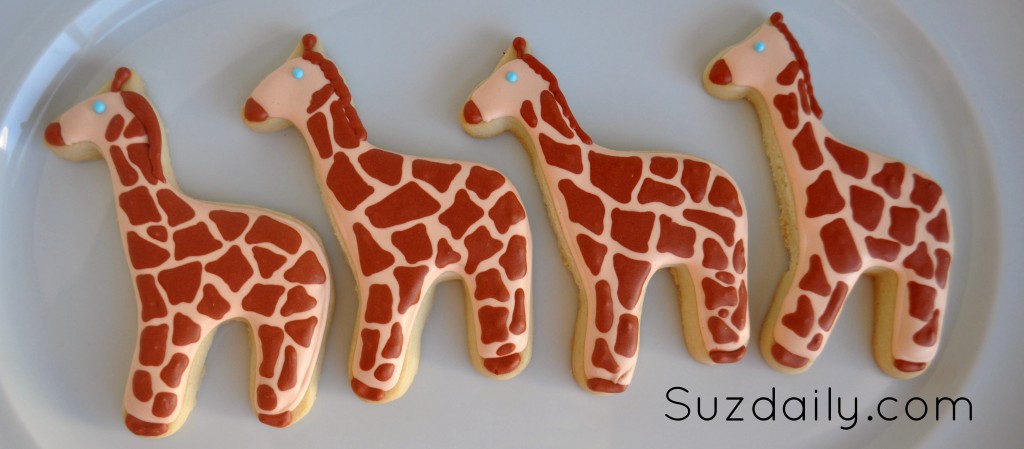
These giraffe cookies were made for a baby shower. I loved the randomness of the spots on the giraffe.
For more info on how I made these keep reading. What I used to make these cookies:
- Giraffe cookie cutter from the Wilton 50 piece animal kit
- Sugar cookie dough
- Royal Icing
- For Giraffe body mix royal icing with americolor ivory and brown.
- For Giraffe spots mix royal icing with americolor tulip red and brown.
- For eye, mix royal icing with sky blue.
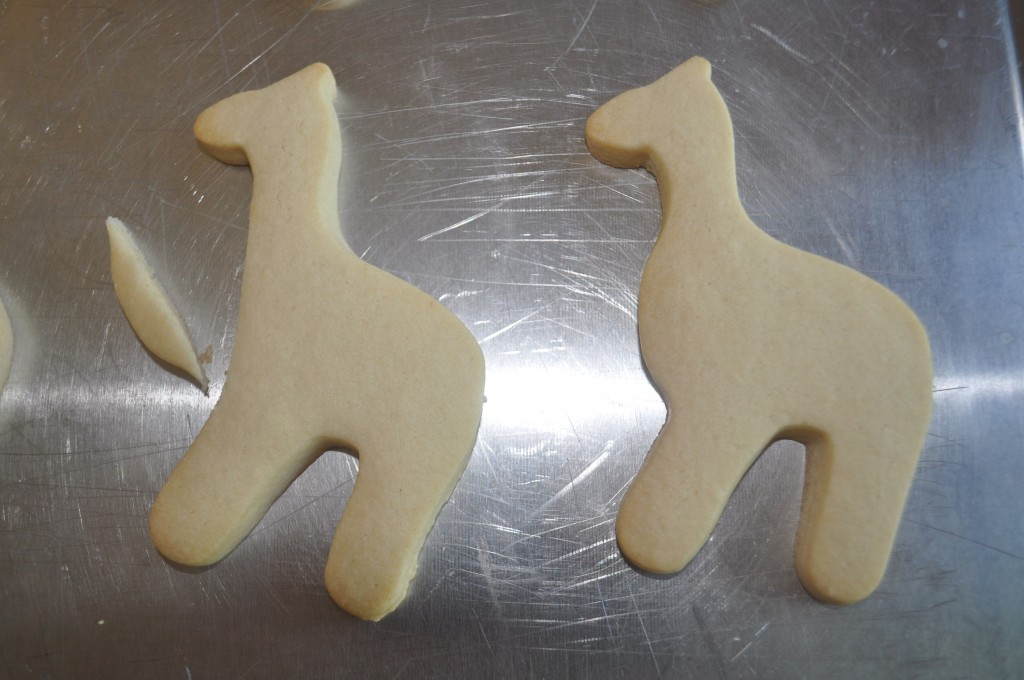
To start, prepare cookie dough. For these very specific shapes I rolled the dough 1/4 inch thick between two sheets of saran wrap and chilled the dough for at least two hours. I also chill the baking sheets while the dough is chilling. This keeps everything chilled so the dough does not spread and ruin the giraffe shape.
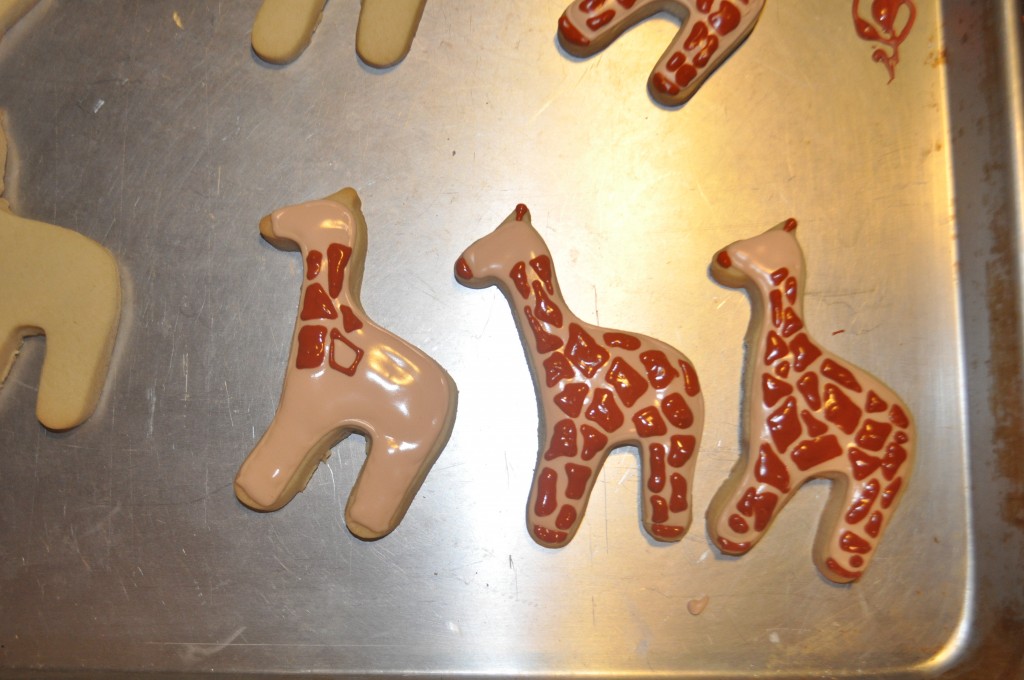
Following a tip from Julia Usher, I am baking these giraffe sugar cookies on the back of the cookie sheet. This leads to even baking of the cookies. I have also found I have less spreading when the pan is chilled and when I don’t use a silicon mat. Because of the high butter content it is easy to remove these giraffe cookies from the baking sheet. I also thought Mr. Giraffe needed to loose a few lbs. I used a paring knife to remove part of his belly just after baking. For the cookies done after this point I trimmed the cookie dough. I wanted cleaner lines for this cookie.
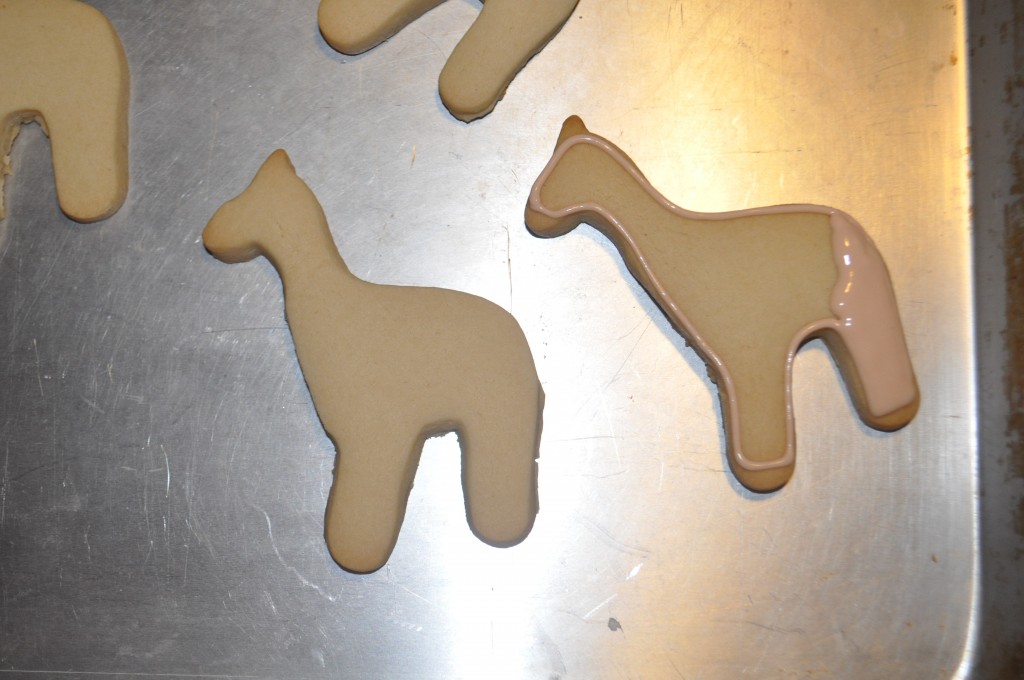
The giraffe cookies are baked and cooled. I now continue by preparing the royal icing. Mix colors following the guide at the beginning of this post. Be sure to add just a little bit of dye at a time – you can always add more later. I am using just one consistency icing. I normally outline and flood, but in this case I decided to make a medium thick icing. I thinned the royal icing and added just a few drops of water at a time. I knew the icing was ready when I placed a knife through the icing, making an indentation, then counting for 10 seconds. If the indentation is gone after 10 seconds the icing is just where I want it to be.
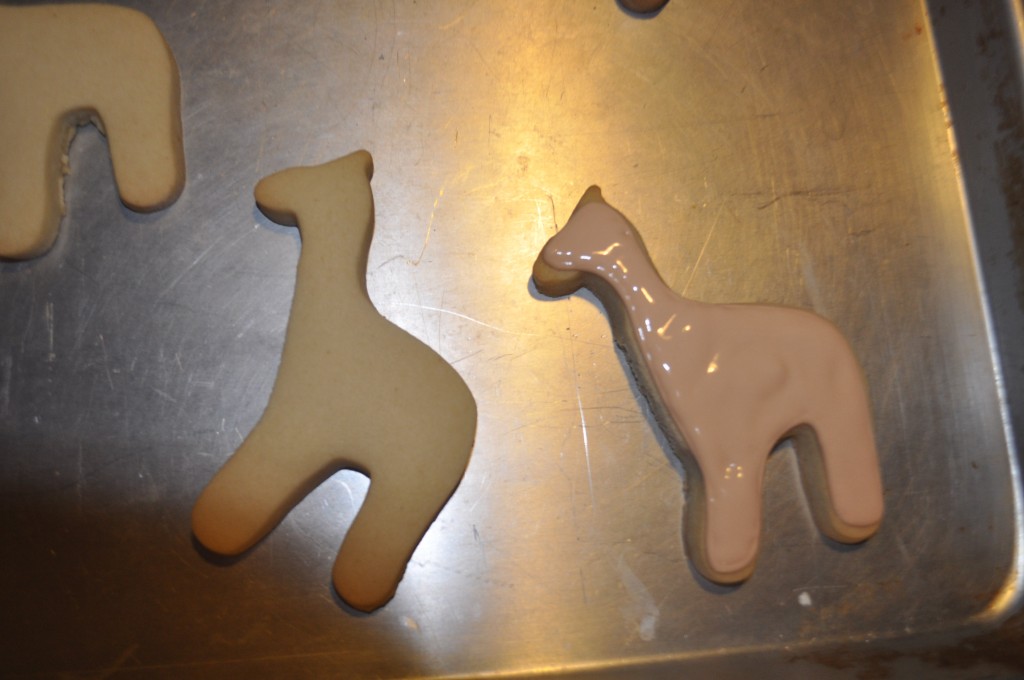
Outline the cookie using a Wilton #2 tip. If the icing is right it will fall gently on to the giraffe cookie. If it is too thick it will twist and turn as it comes out of the piping tip. If it is too thin, it will run off the cookie. Immediately after the giraffe cookie is outlined, fill in using the same icing. If you do not want to see the border use a toothpick to mix it into the icing used for a filling. To make the process go faster remove the Wilton size 2 tip and replace with a larger Wilton size 3 tip.
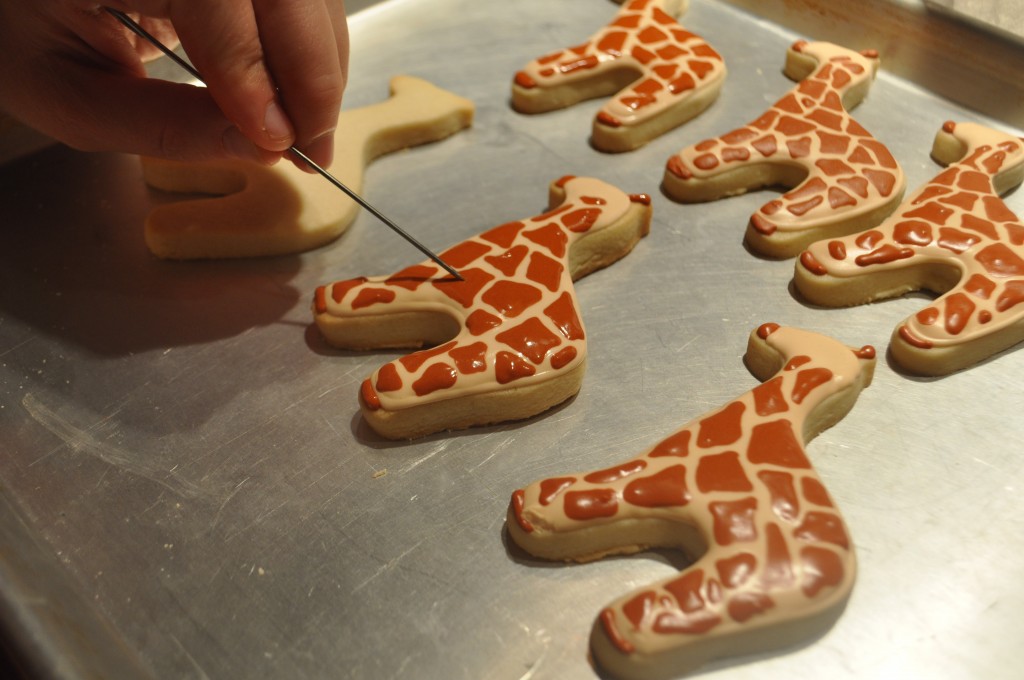
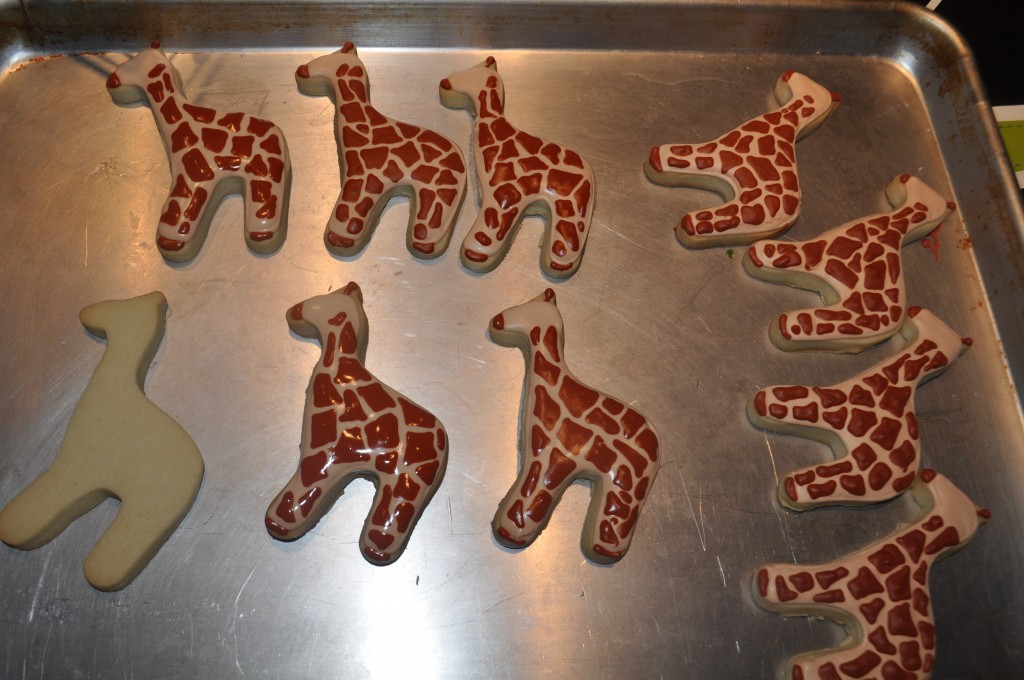
Using the dark accent icing (a mixture of tulip red and brown) create spots on the giraffe cookie. Use a smaller tip, either a Wilton #1 or a PME 1.5 tip to first outline the spots. Immediately fill the spots in using the icing tip. I usedl mostly stretched diamonds and trapezoids create the pattern. I also added the details for the giraffe’s nose, feet and horns. (Is that what those things are on their heads?) NOTE: the spots have to be added immediately after the body of the giraffe is covered in icing. If you add it too late, the spots will not settle into the icing and you will loose the smooth look.
Here I show how I use my favorite icing tool to get the icing to go where I want it to go. These are poultry ties (I think that’s what they are called) from the dollar store. You could also use toothpick, but I think these are better because they can be reused and sanitized.
When all the giraffe cookies are frosted they will dry overnight. All that is lacking is the eye (sky blue royal icing) and the mane (using the same color as the spots).
These cute giraffe cookies would be great for a baby shower, birthday party, or a circus party. I would definitely make them again if I had the right occasion


One thought on “How to make a Giraffe Cookie”