Baby Rattle Cookies
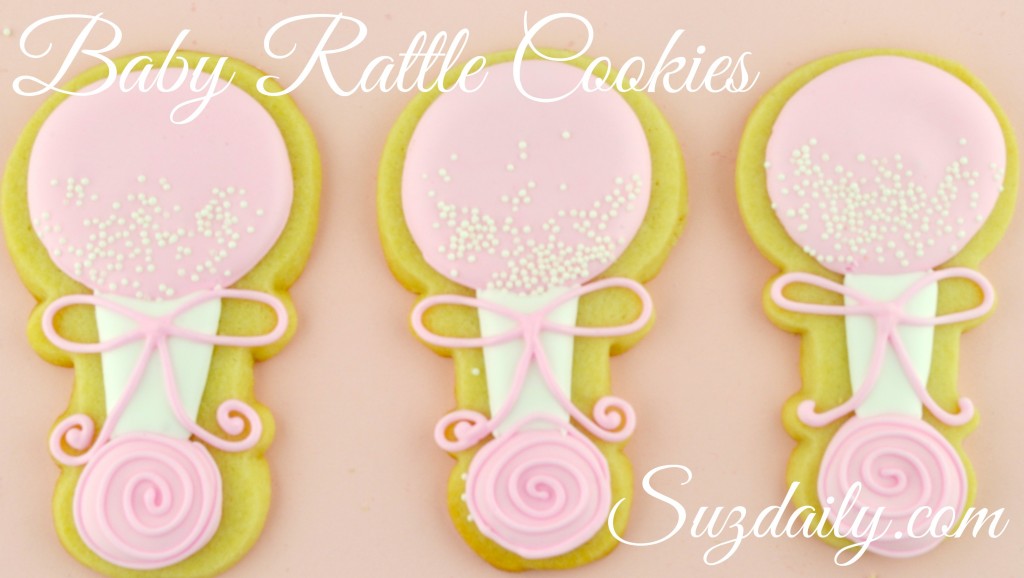
Here is a sample of baby rattle cookies made for a baby shower favor. I usually offer a choice of shapes for baby cookies and the rattle is always a favorite. I love using these small sprinkles, technically called nonpareils, for use in a baby rattle cookie. These really bring the cookie to life. Keep reading for details on how I made these baby rattle cookies for a baby shower. Baby Lizzie is getting old enough to grab objects and she is in the stage where she loves rattles. Really nosy annoying rattles. So much fun. Keep reading for details on how to make the baby rattle cookies
Cookies make the perfect favor for a baby shower. They are beautiful, portable and delicious. No one wants junk from the dollar store — stick with something one of a kind. I always get a good reaction from cookies decorated with a baby theme. What could be cuter than baby shower cookies? The baby rattle cookie favors are always a hit with party guests. Change the colors or patterns to match the decorations of the event. In this case it was a classic pink and white baby girl theme. So on to the instructions…
Step 1 – Baby rattle cookies – Gather supplies
Checklist
- baby rattle cookie cutter
- sugar cookie dough, use your favorite recipe, my favorite recipe can be found here
- royal icing, I either use regular royal icing, recipe found here, or royal glaze icing, recipe found here
- pink food coloring
Step 2 : Baby Bottle Cookies – Cut shapes and bake cookies
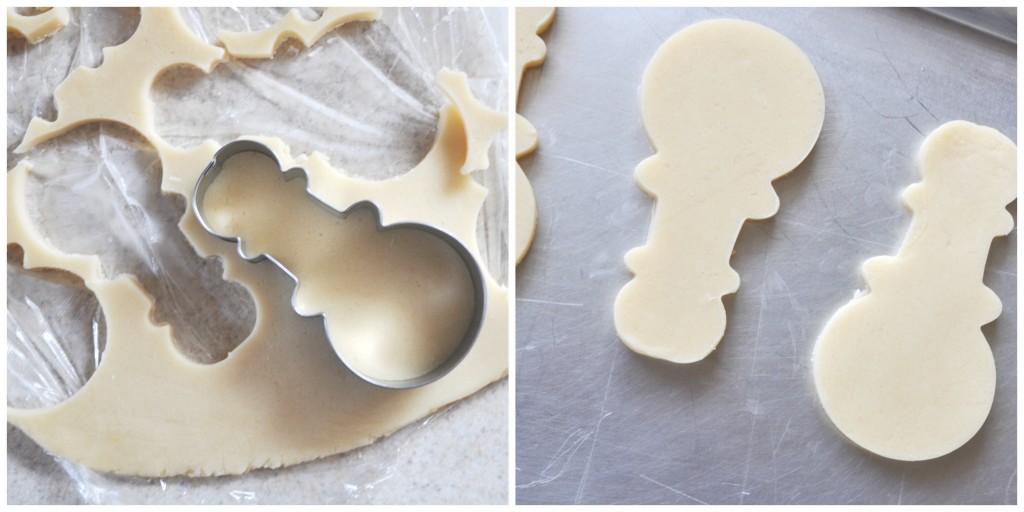
I usually make dough ahead of time and freeze it in a sheet between saran wrap. This saves so much time when having to decorate a lot of cookies. Keeping the shapes very cold in the freezer keeps them from spreading too much in the oven. Again, here is my favorite sugar cookie recipe. Use your favorite recipe.
Step 3 : Baby Rattle Cookies – Prepare Royal Icing
Making the icing sometimes feels like it’s own project! When I want the most detailed work I make regular royal icing, but for these baby bottle cookies I used royal glaze icing because it dries slightly softer than regular icing. Either recipe works great! For outlining the icing should be thinned until it makes soft peaks. The flooding consistency icing for flooding should flow like honey. A medium consistency icing does not hold a peak but is thicker than the flooding icing.
Royal icing checklist:
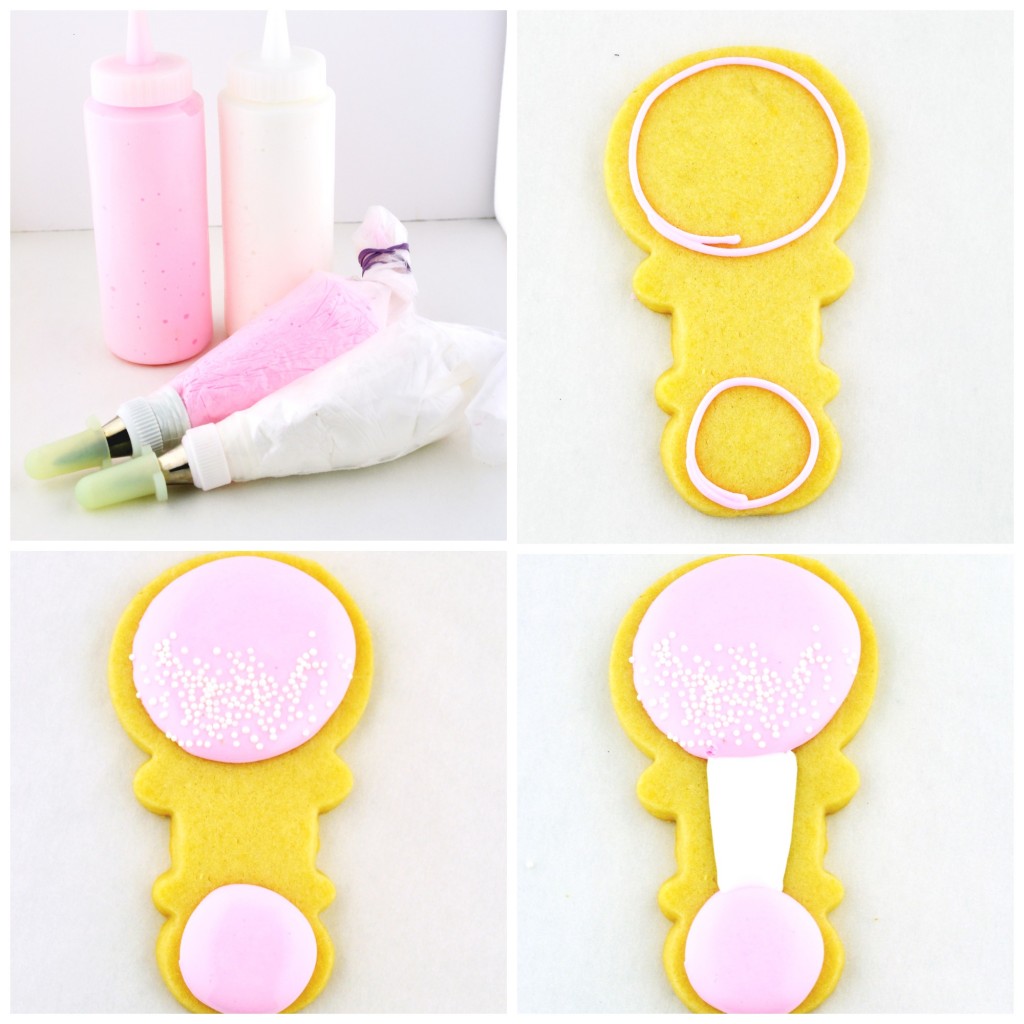
- Pink icing, thicker outlining consistency, in a piping bag with a size 1 tip
- Pink icing, thinned to flooding consistency, in a plastic tube for flooding
- White icing, thicker outlining consistency, in a piping bag with a size 1 tip
- White icing, thinned to flooding consistency, in a plastic tube for flooding
Step 4 : Baby Rattle Cookies – Decorate the Cookies
Everything is ready and now time to decorate the cookies! This is so much fun! Decorating with royal icing reminds me of painting on a drawing app – just click and the color fills in perfectly. Once the baby rattle cookies are baked and the icing is ready the fun begins! Usually for me this happens very very very late. I finally get to decorate the cookies! Yay! Here is a photo summary of making the baby bottle cookies.
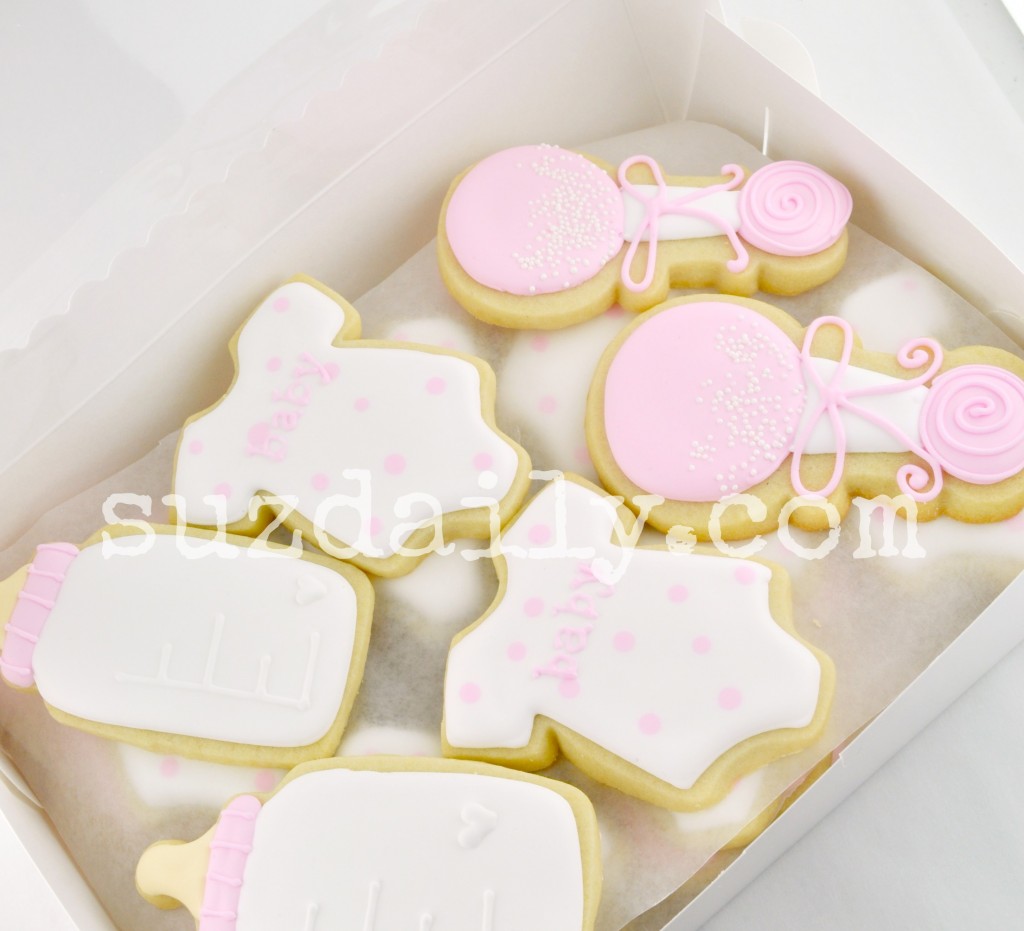
 After the icing has set (about 30 minutes or more depending on climate) add the final bowl and swirl details to the baby rattle cookies. These cookies were part of a set of baby shower favors.


Very cute! You did a great job with decorating them, so professional.
I can’t wait to make these.
Can I freeze these after they have been decorated?
Jacqueline,
Yes you can freeze cookies after they have been decorated. Just make sure they are sealed in bags or in an air proof container. The icing can get flaky once it is dry so they are a bit more fragile. Other than that it works great.
Thanks for looking!
Suzanne 🙂