How to make Spa Cookies
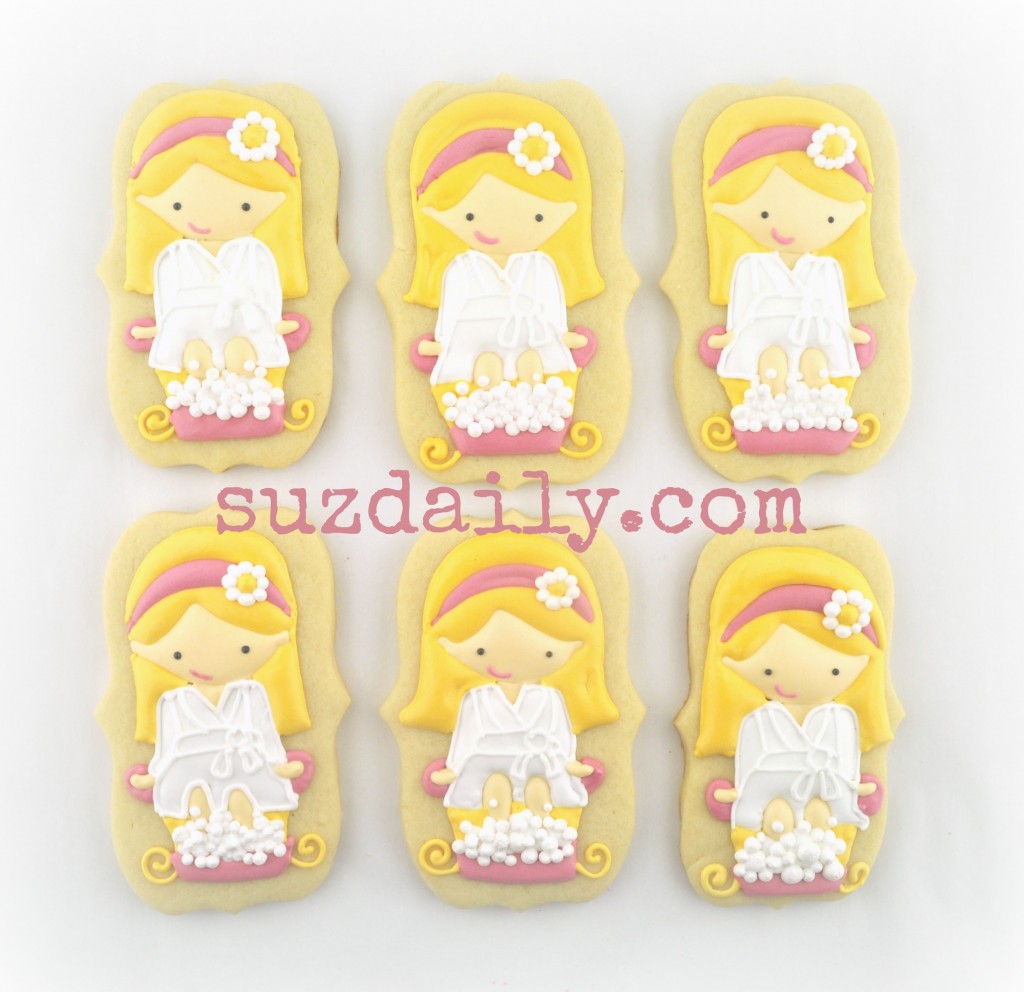
 I loved making Spa cookies for a good friend’s birthday party. They turned out adorable. I decided to make all cookies the same as she only wanted one dozen cookies. This spa cookie is rather complicated so if I made spa cookies again I would make just a few of the spa girls and do simple designs to go with a platter. Ideas could include bubbles, sparkly with disco dust or sanding sugar. Cucumbers, nail polish, brushes, combs, whatever goes along with the spa birthday party theme. The image used to create the spa cookie above came from the invitation used for the party. It think I only had to change the hair color to match with the birthday girl.
Keep reading for more details on how I made these spa cookiesSpa birthday parties are so popular now for pre-teen girls. Spa cookies are appropriate to go along with the birthday theme. Stick with light, girly colors and keep the spa cookies fun!
Step 1 : How to make Spa cookies – Prepare cookie dough and bake spa cookies
Use your favorite cookie dough recipe. For this spa cookie I used one that is really tasty, but does spread slightly. For the basic plaque shape spreading was no issue. The recipe I used for this spa cookie can be found here. Use whatever recipe you prefer. I can guarantee the recipe I used is delicious, but it will spread slightly. I reduced the amount of cookie spread by freezing the cut shapes before baking the spa cookie shapes. I have found that instead of hand cutting special cookie shapes I can save a lot of time by using a basic plaque or other simple shaped cookie cutter.
Step 2: How to make Spa cookies – Prepare royal glaze icing for decorating
For this spa cookie I used royal glaze icing. I love this recipe because it drys soft and will not hurt your teeth when you bite into the finished cookie. The recipe for making royal glaze icing is found here. For more details on how to make icing, refer to this post where I explain how to make royal icing. Use whichever icing you are most comfortable with. If you are shipping the spa cookies, it may be better to stick with the royal icing. I have found that royal glaze icing has a tendency to flake during the shipping process, even when packaged with care.
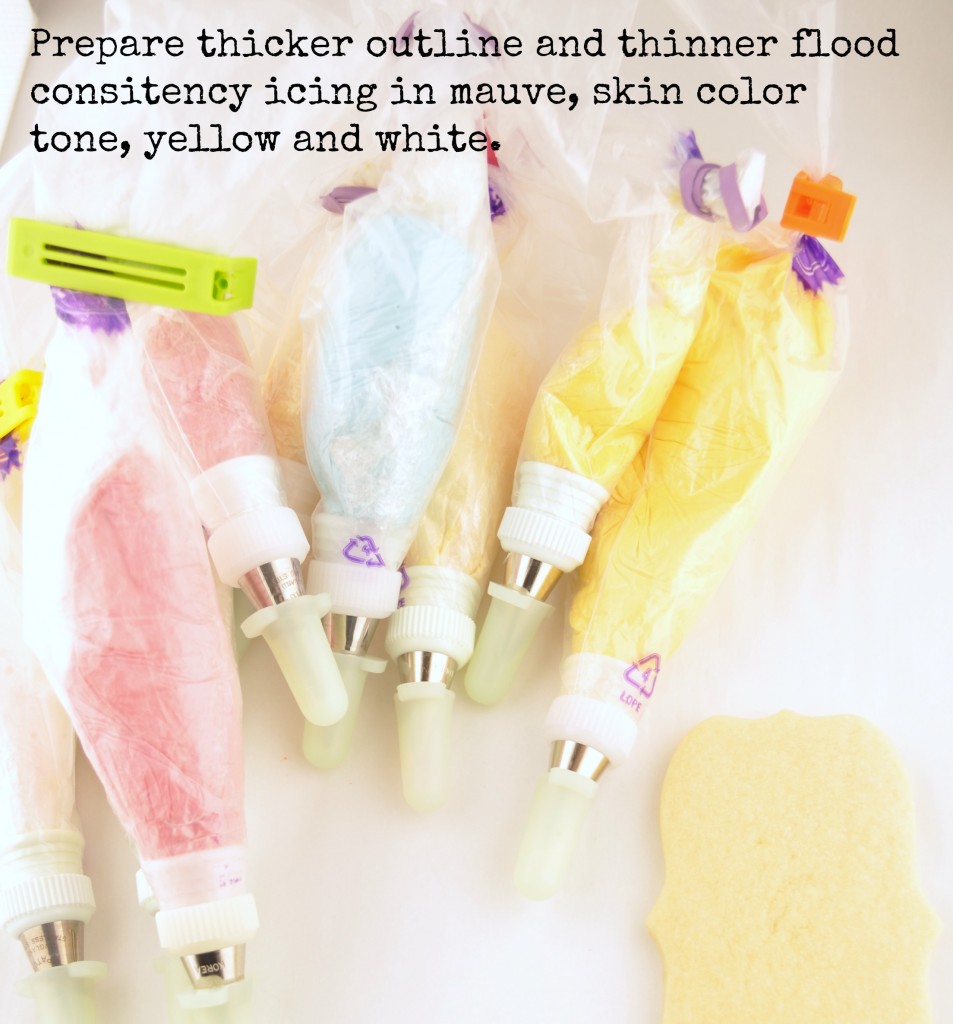
For this spa cookie, prepare the following icing:
- Keep some of the icing for the spa cookie white. Thin some of this icing to the soft peak (outline) stage. Thin the rest of the icing a bit more to a thin (like honey) flood consistency. The white will be used for the robe and for the bubbles.
- For the hair and chair details on the spa cookie, prepare yellow icing Americolor yellow plus a tiny bit of americolor chocolate brown. Thin some of this icing to the soft peak (outline) stage. Thin the rest of the icing a bit more to a thin (like honey) flood consistency.
- For skin color on the spa cookie, I used wilton ivory, and a small amount of americolor soft pink. Again, thin some of this icing to the soft peak (outline) stage. Dilute the rest of the icing a bit more to a thin (like honey) flood consistency.
- Last, prepare an accent color for the spa cookie to be used on the chair and headband. In this case I used americolor mauve to create a nice dark pink headband and spa seat. Again, thin some of this icing to the soft peak (outline) stage. Dilute the rest of the icing a bit more to a thin (like honey) flood consistency.
If you are comfortable with one consistency icing go ahead! It saves so much time. I would use at least a 18 count icing (peak goes away in 18 seconds). I am still learning and have found that for characters I have to make two consistency icings just to be safe.
Step 3: How to make Spa cookies – Decorate the cookies
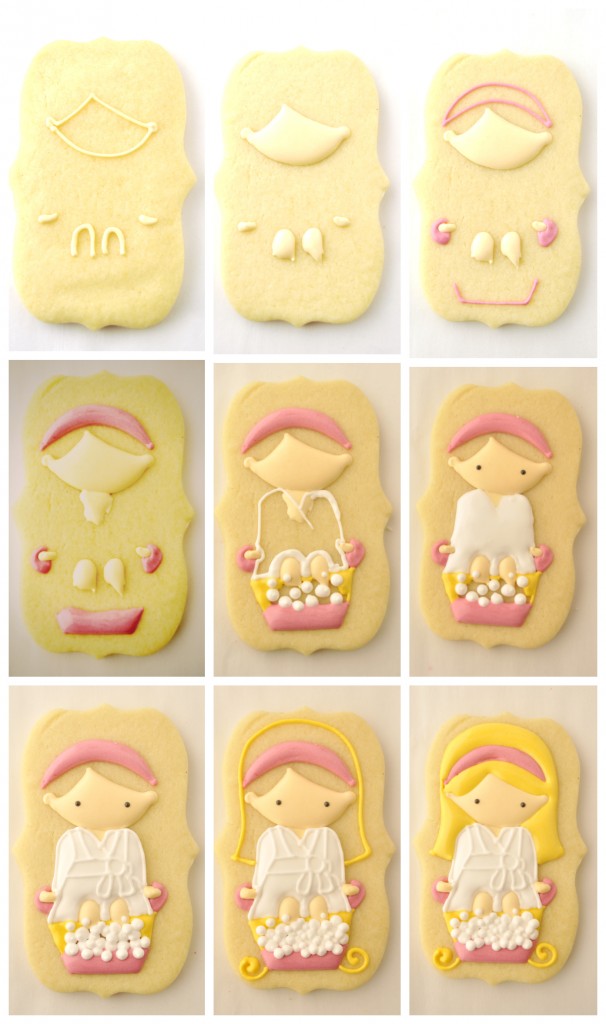
Now the fun part! Decorating the spa cookies! I do this in sections. You do not have to follow the outline/flood order that I used, but I found it worked for me. I like having the photo summary just in case I want to make the same cookie again (very rare, but you never know).
 Follow the photo summary above to see how I decorated these cookies. Usually I wait about 15 minutes for each section to dry before moving on to the next. My favorite part about decorating these were all the bubbles.
My camera setting was off when I made these (why I shouldn’t decorate past 2AM). You can’t see from the photos but I carefully painted the bubbles with a Wilton pearl sheen to make the bubbles look more – bubbly. If I made this cookie again I would add the eyes in the beginning when the skin on the face is still wet. My friend said some of the eyes started to flake a bit from shipping. If the eyes were adding in the beginning this would not be a problem.
I hope you get a chance to make these spa cookies! Enjoy!


Hi! Would you mind if I share your blog with my myspace group?
There’s a lot of folks that I think would really appreciate your content.
Please let me know. Cheers
That would be fine! I hope they are able to use some of the ideas!
Thanks for looking!
Suzanne 🙂